
There are three main types of whipping: Common Whipping, Improved Whipping, and Sailmaker's or Palm-and-needle. Common whipping is the fastest and easiest but the least secure. Improved whipping is just that- more secure and only a little slower. Sailmaker's whipping is rather slow but very secure.
Common Whipping

To secure the end of a line with common whipping you need waxed cord and some means of cutting it. In the illustrations I am using ¼" braided cotton rope.

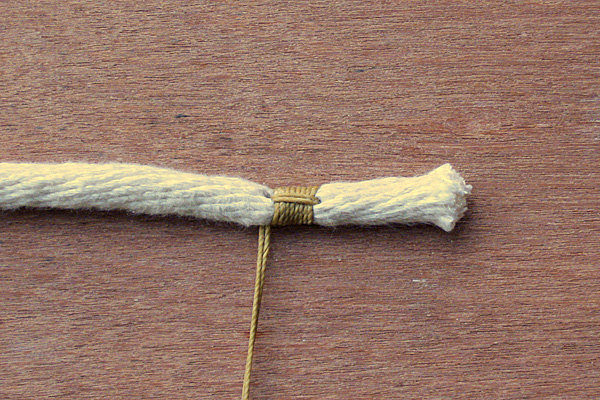
Make a loop in the cord, lay it along the rope, and take a turn around to secure it.
Continue serving (wrapping) until the served section is about equal to the rope's diameter.

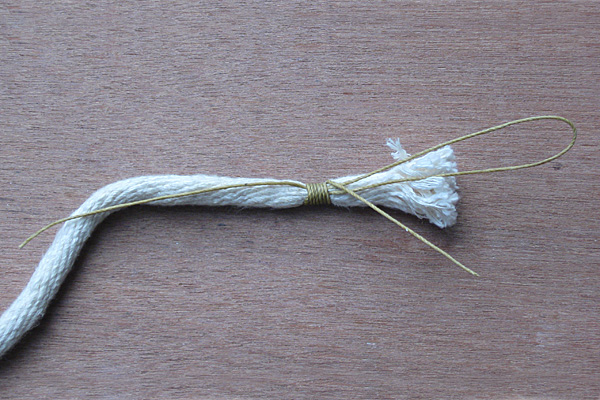
Tuck the working end through the loop (making sure to keep the serving tight) and use the other end of the cord to draw the loop closed.

The working end is then drawn HALFWAY under the serving. Care must be taken at this point to avoid pulling the loop all the way out. If this occurs you can pull the working end back under the serving.
Trim the off the ends of the cord. Here is one technique to avoid damaging the rope: Position the edge of a sharp knife against the cord, as close to the serving as possible, and pull the cord back and forth against the edge of the blade.
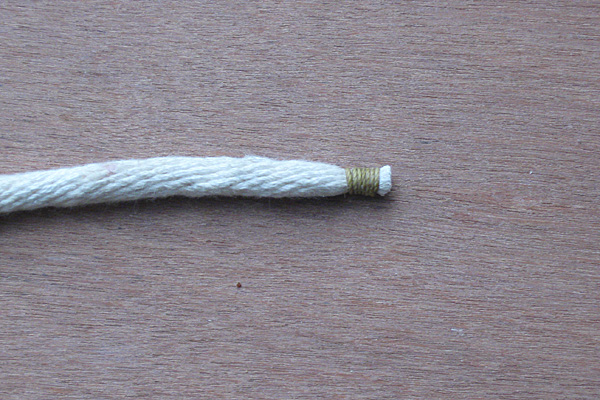
Here is the finished whipping.
Improved Whipping

For Improved Whipping you need the same tools with the addition of a second piece of cord or a wire with which to draw the end under the serving.

Lay the standing end (the stationary end) along the end of the rope and take a turn to secure it.

Then add the loop (in this case a piece of cord) and continue serving.

Continue until the served section is the same as the diameter of the rope and tuck the working end through the loop.

Using the loop, pull the working end all the way under the serving and out the other side. The picture shows this step partially complete.

Trim the ends.

Finished
Sailmaker's Whipping

The tools needed for sailmaker’s whipping are the same as for the other types with the addition of a needle. For larger rope you would need a sailmaker’s palm, which is a cross between a thimble and a glove.

Thread the needle, bringing half the cord through the eye so that you are working with the cord doubled.

Take a stitch through approximately 1/3 of the rope. If you are using laid rope, stitch under one of the three or four strands. Then lay the standing end along the end of the rope.

Serve until you have a section equal to the diameter of the rope.

Take another stitch like the first one and pull tight.

Bring the cord to the starting side of the serving (for laid rope you would “worm” it, meaning that you would follow the curve between two of the strands) and take another stitch.
Here is what the whipping should look like at this point.

Bring the cord to the other end of the serving and take a stitch, again through ~1/3 of the rope and go over the serving again and take a final stitch The goal is to have the three (or more) worming stitches evenly spaced around the rope.

At this point the cord should be near the end of the first worming stitch. Pass the cord under it and pull tight.

Bring the cord around the worming stitch and push the needle into the center of the rope. Pull the cord a bit too tight, so that it will work back into the center of the rope after it is cut.

Finished
Godspeed
No comments:
Post a Comment